Students: Bart van Veggel, Matthijs Brand, Roel van der Plas, Tim Splinter. (2020)
Introduction
When the corona measures made it impossible to do the smart manufacturing and robotics project the way they always go we had to find a way to do everything from home. So, we came with the idea to make a mobile application, some people had experience with building apps that were eventually good to know because almost all groups had to make an app in the end. So, we all shared ideas and we found the project which we would like to perform. The idea that we chose was to make city trips more about nice spots that also have an informative side to them. As a user, you can explore points of interest and walk multiple routes. The goal was to have an augmented reality experience in the app, however, this is implemented in a separate app. This app celebrates the history and art of the city you visit. While you just walk through the city with Citytrip on your phone.
Solution
We made the Citytrip application with React Native, with the help of the Expo client. React Native is a framework based on JavaScript. Citytrip has multiple screens through which you can navigate. We have a login, preference, map, points of interest, routes and settings screen. What you can do on the screens is described below.
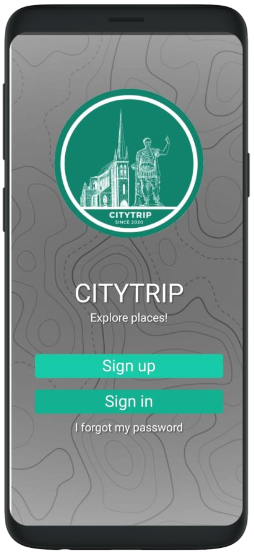
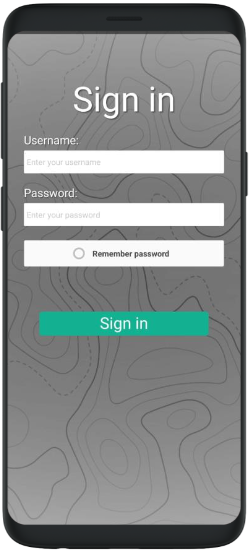
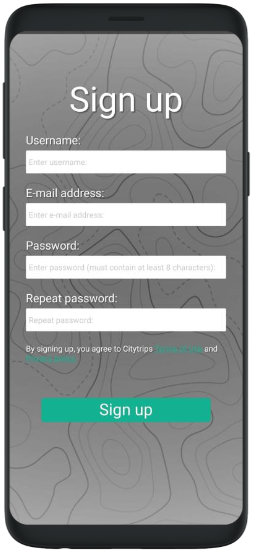
Login
The login screen shows three options, you can either sign in to and account or make a new account with sign up. If a user forgets his/her password, they can retrieve it by pressing “forgot my password”. Whenever you make a new account, you can select the type of categories you like this creates a user-based experience. The accounts are connected to a database with an API that we have built. More on that after all the screens.
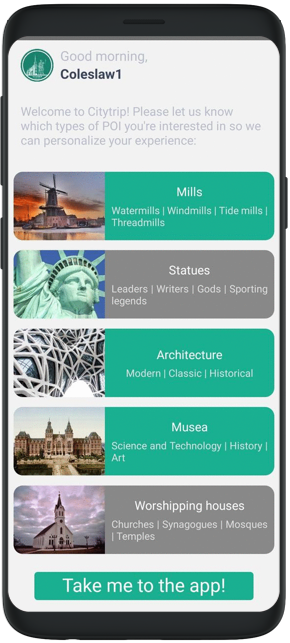
Preference
In the preference screen, the user can select what category they like. When they go (back) to the app, the preferred categories will be saved to the user database. The points of interest and routes shown in the app are categorized in one of the preferred categories.
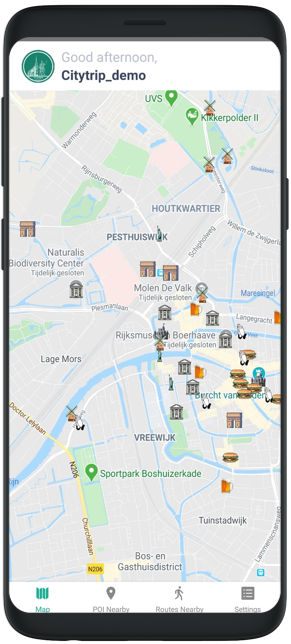
Map
The map screen shows a map with the points of interest and the user location. The user can press the points of interests and then it shows its name. Every category has its own custom marker, so it is clear to what category the point of interest belongs.
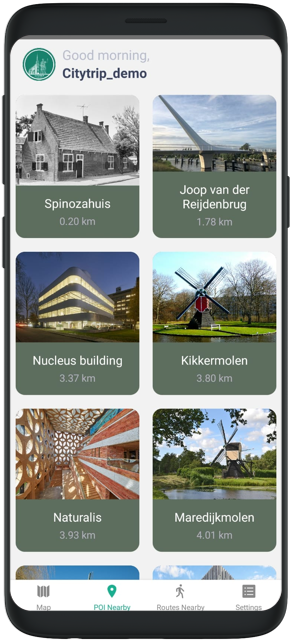
POI Nearby
The POI Nearby screen shows the points of interest of the user’s preferred categories. The points of interest are by default sorted by distance to the user, from short to long. If the user presses the point of interest, a popup will show up. The popup displays extra information and a hyperlink to an external website which has some extra information.

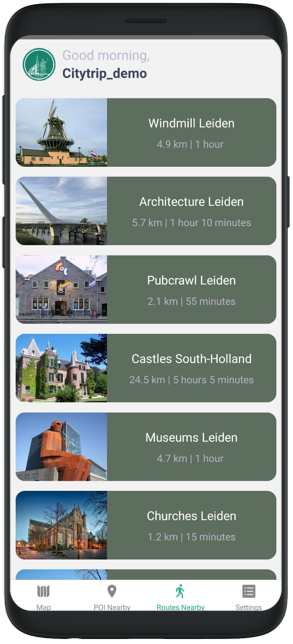
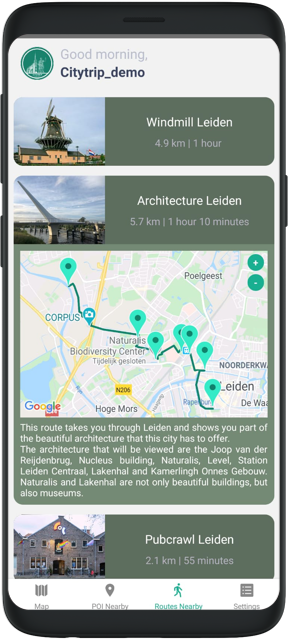
Route
In the route screen, the user will see the routes based on the user’s preference. The routes are multiple points of interest connected and mostly within walking distance. If the user presses a route, it shows an extension that has a small map and a description of the route. In the small map, the points of interest and the route are shown. If you press a point of interest, the same popup as in the POI Nearby screen will be shown.
Settings
In the settings screen, the user can change its preferred categories and sign out.
API
The API is built in the framework Symfony and the package API Platform is installed. This is a good combination to get a lot of stuff working. The elements are quite fast to write and just the entities will have to be written. From React Native we can use Axios (a commonly used Java library) to send and receive JSON data. The package basically uses the POST, Get, PUT, PATCH and DELETE functions. This makes it easy to manipulate database data. We also implemented OAUTH2, because of this the user only must sign in once in the API and can execute all calls the user can execute.
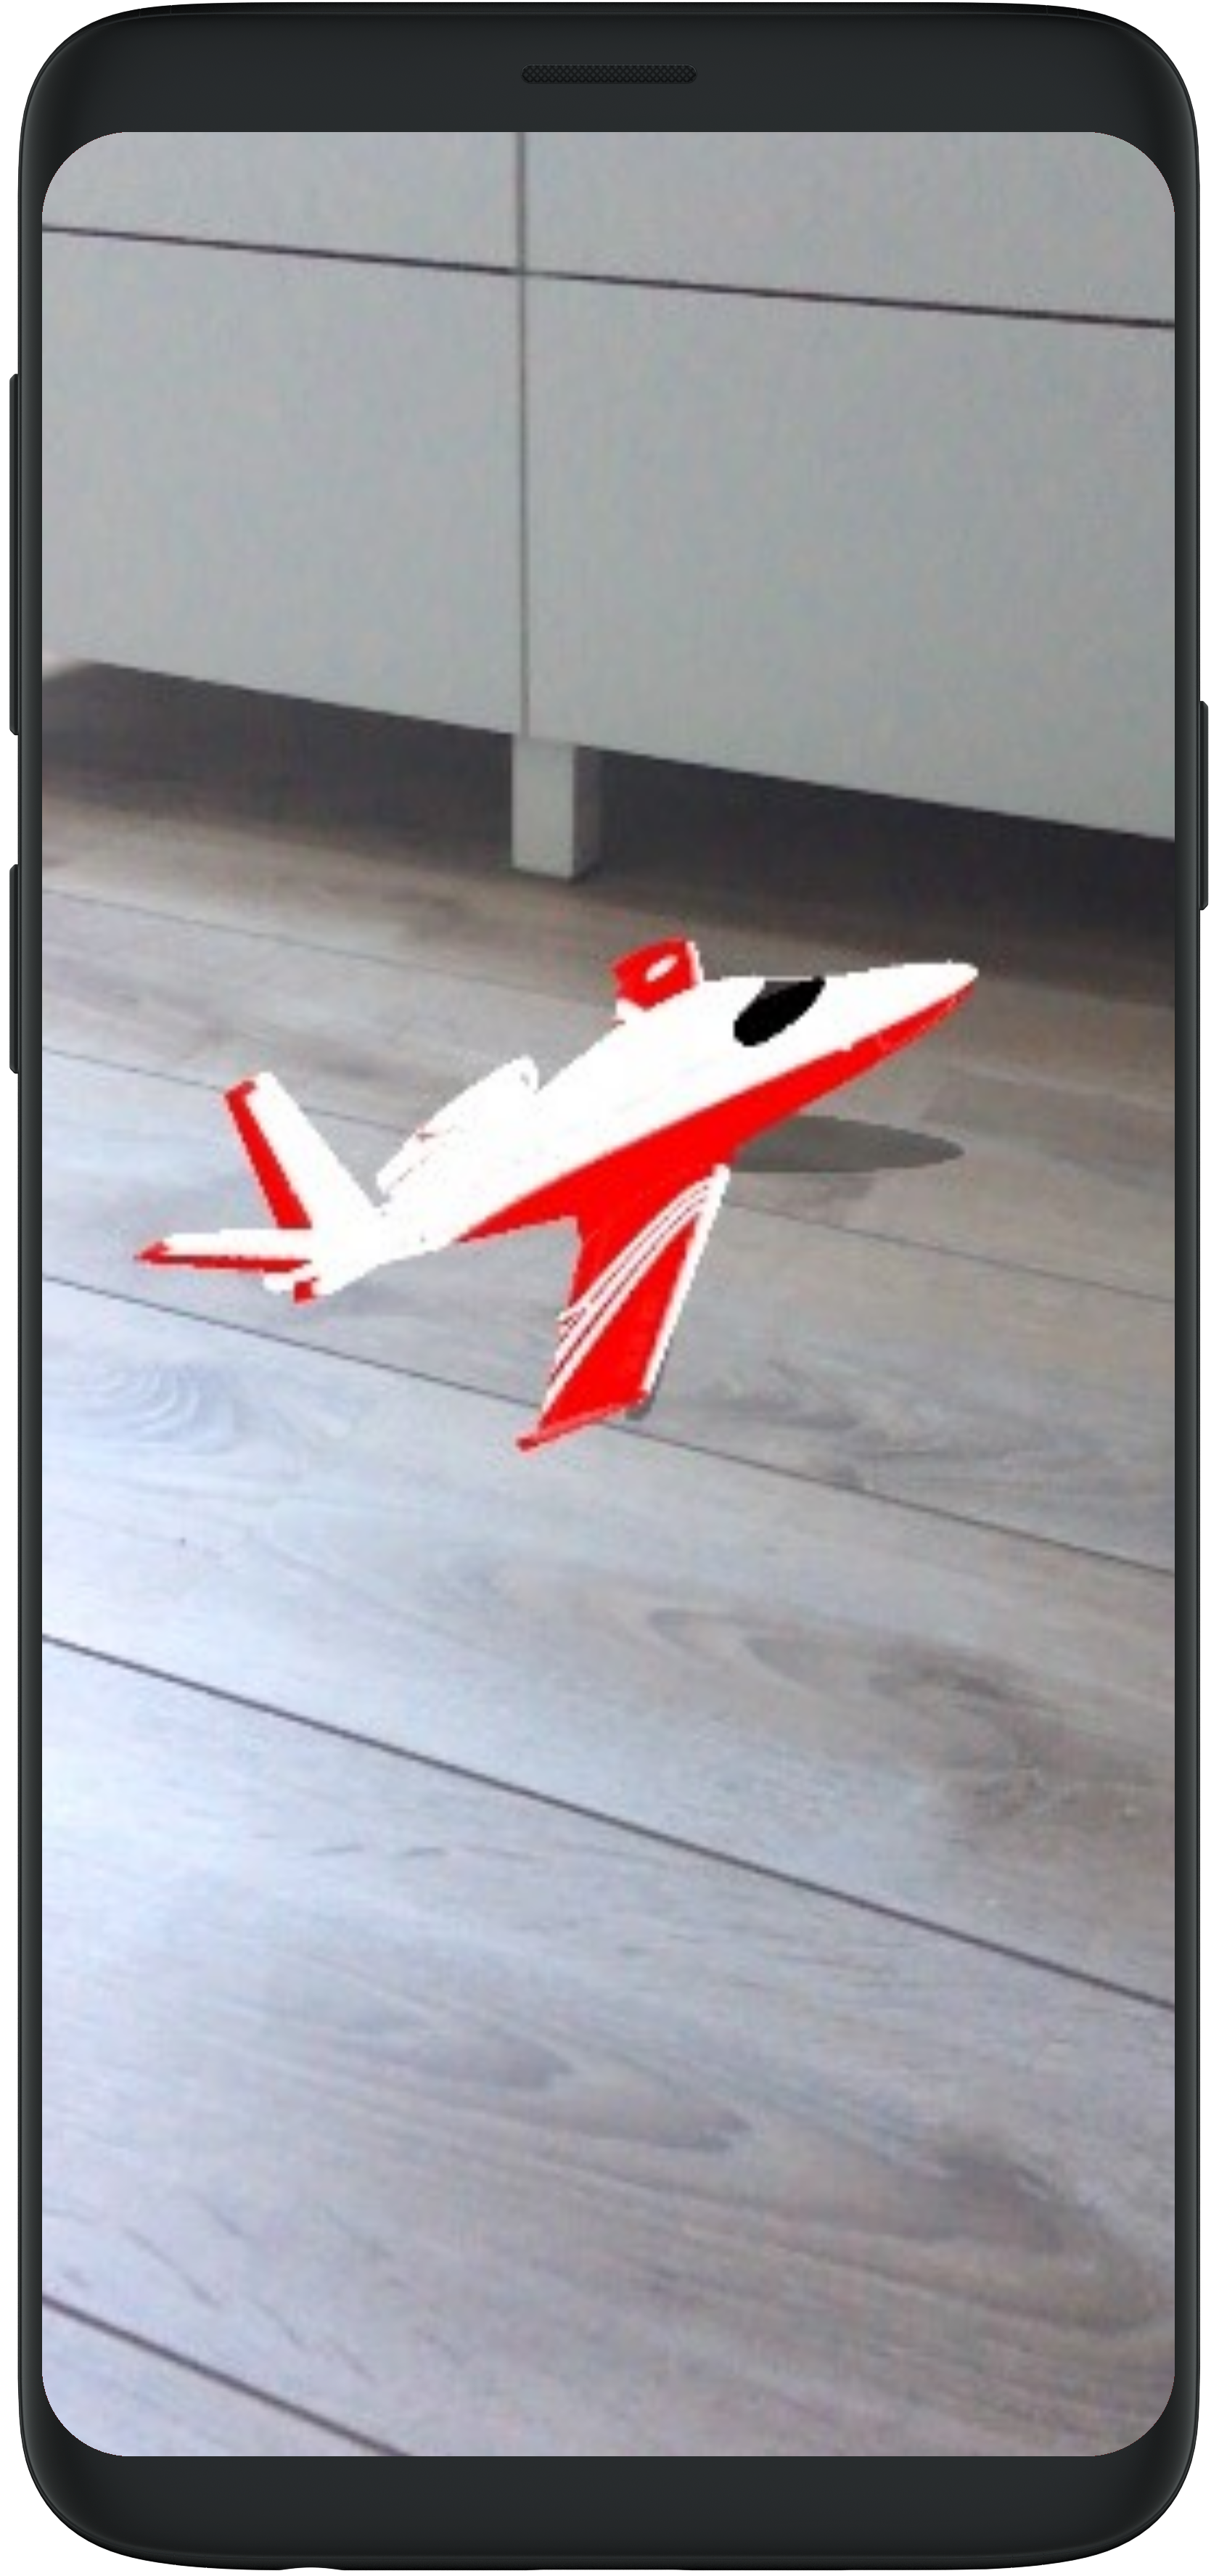
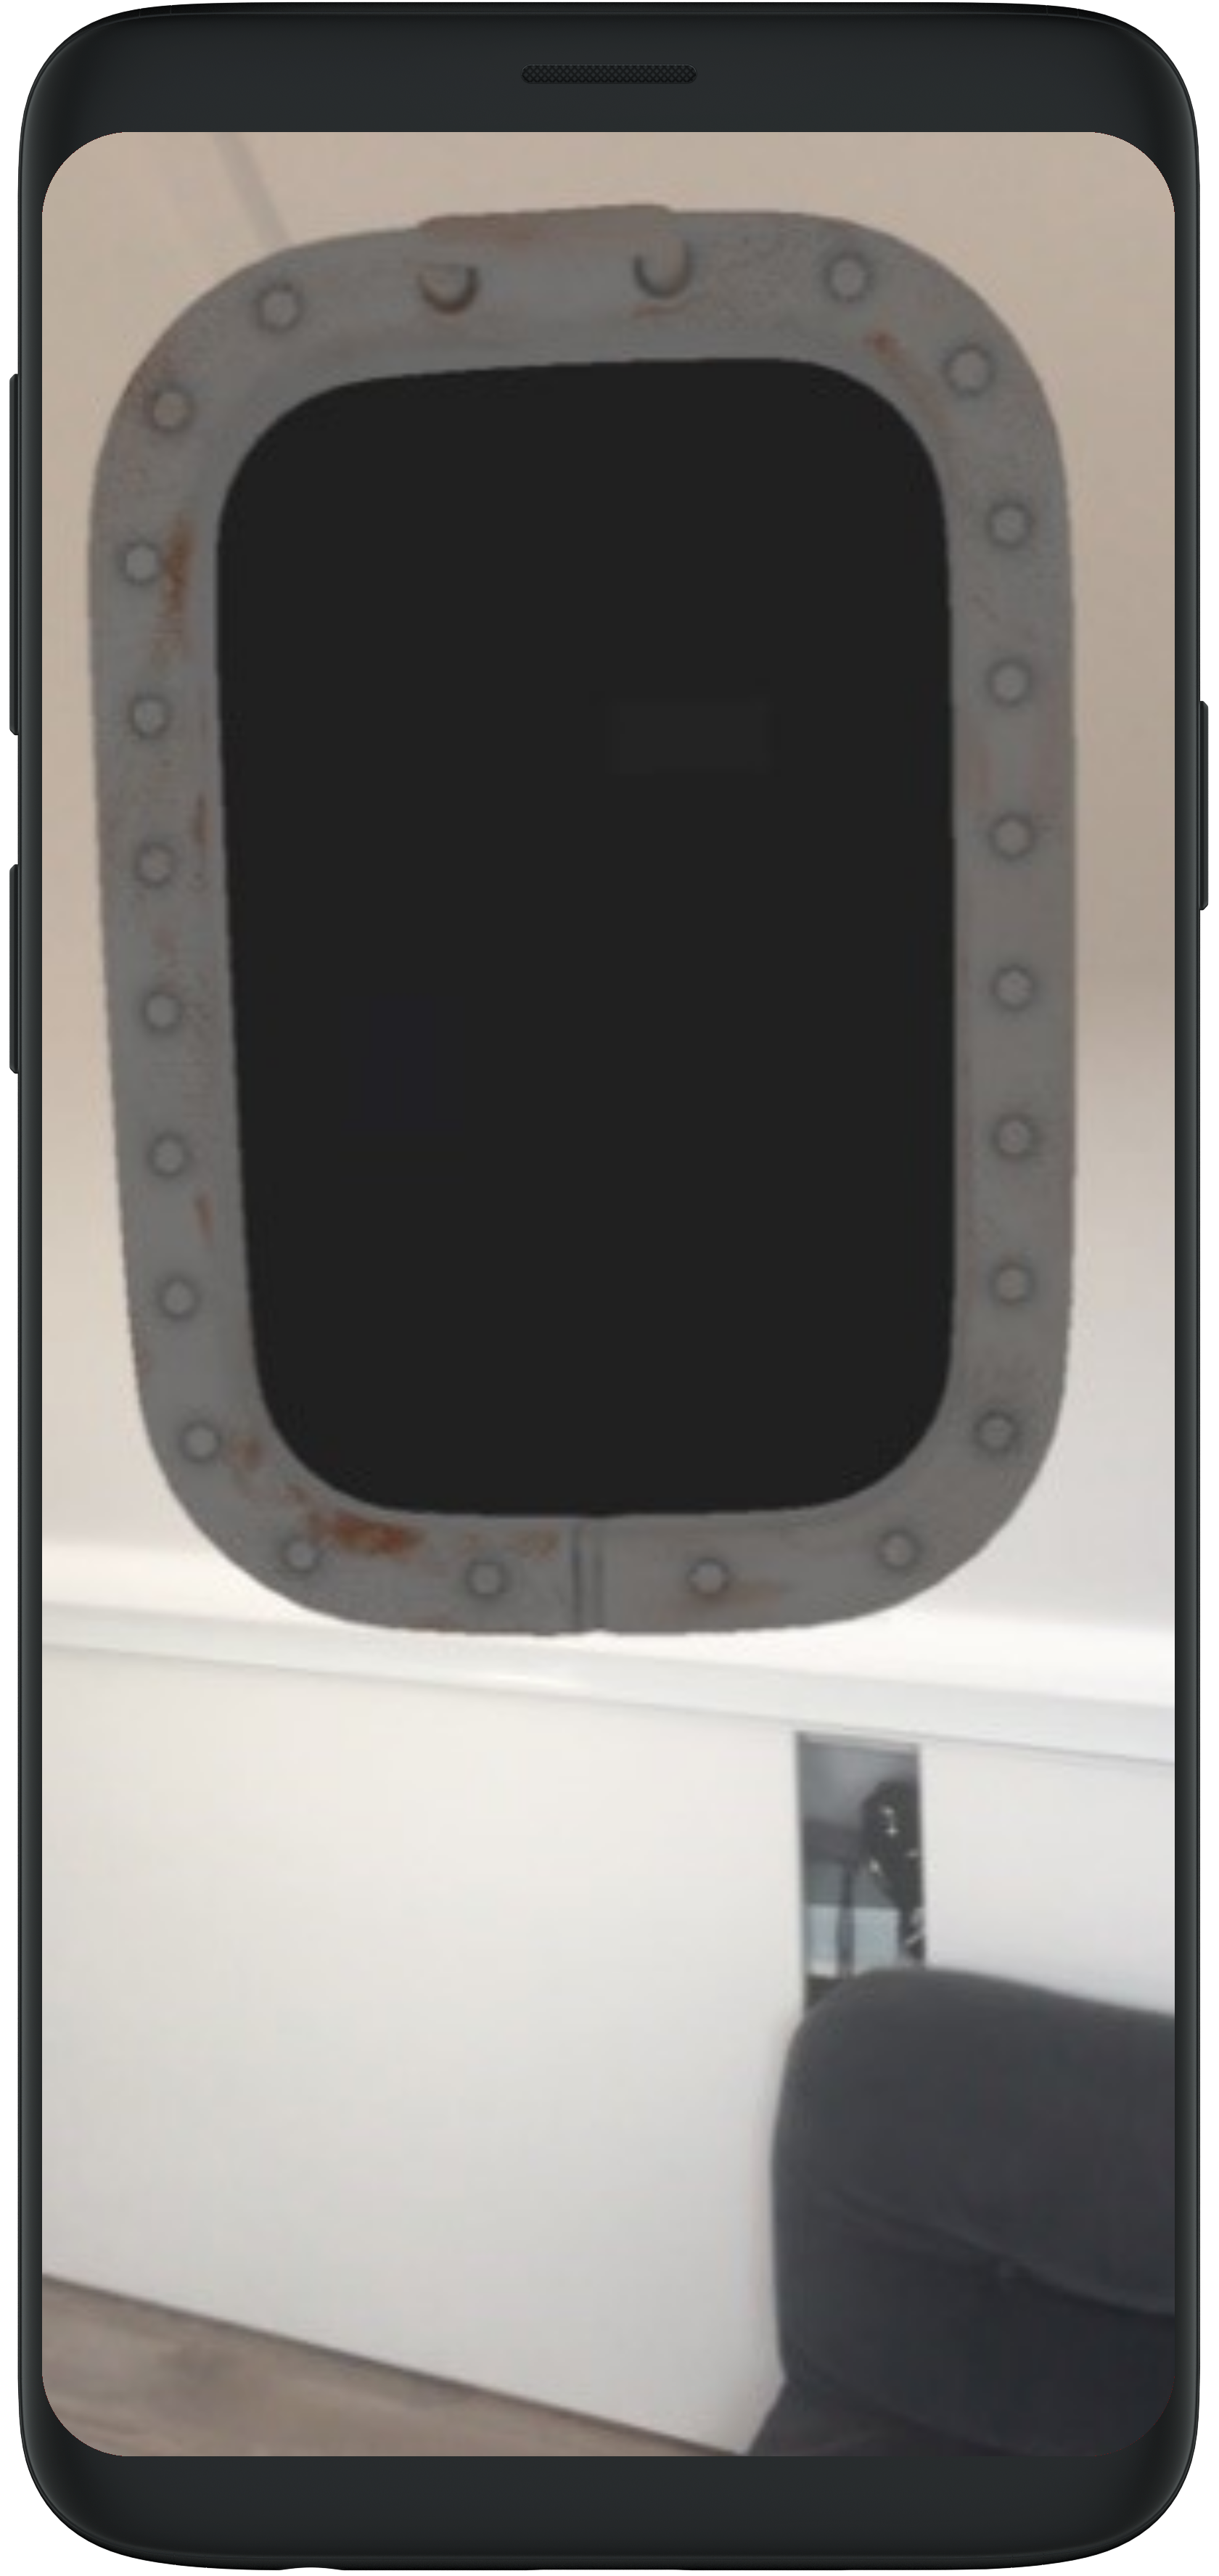
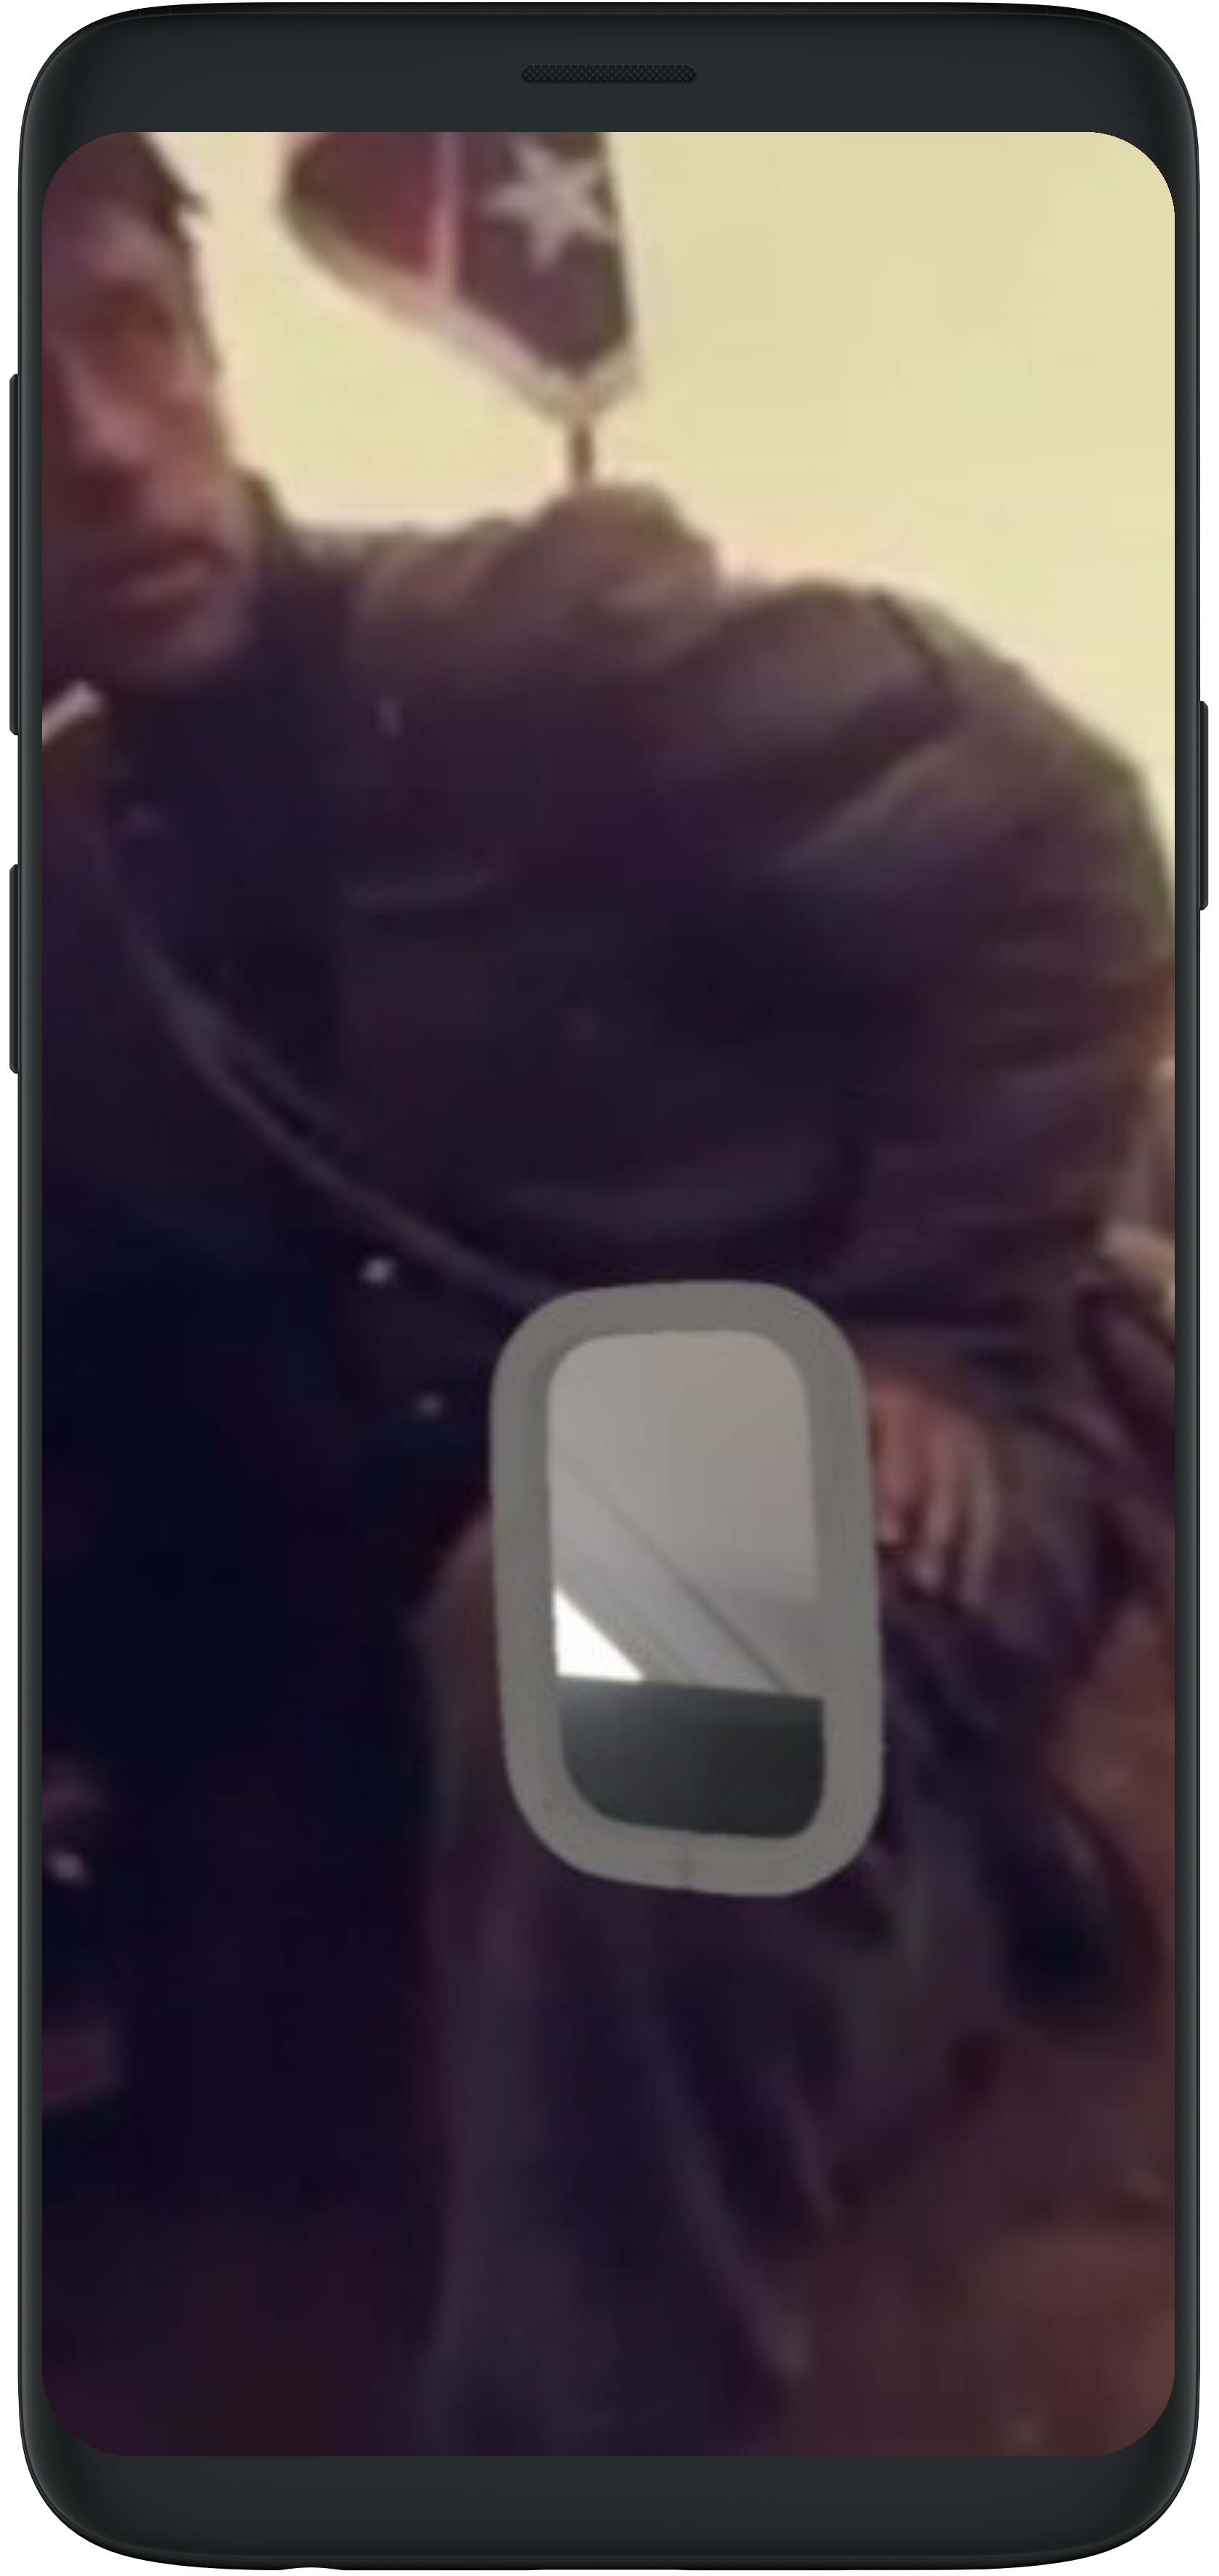
Augmented Reality
By adding augmented reality to a city trip app, you can give users information at a more playful experience. Users can see small 3D models of important buildings, other points of interests or for example a plane. By making a portal, users can step through during their trip. They can see a 360° image or videos to experience the city how it used to be.
Programming Language
We chose to React Native because it supports multi-platforms and is well documented. The problem we ran into is that there were made big changes to React in the latest versions. So, we had to adapt and that had a big influence on the end result with AR. React native is very powerful in use for building an app.
Conclusion
In the end, we all learned a lot of new skills and we’ve built a cool and functional app, which we can show to other people. Also, we learned a lot about what it takes to create an app and how to set-up a new project, so the desired target can be reached as soon as possible.