Joeri Vos, Antti Inkinen, Johan de Geus
Original situation:
During the process of making their products, 2 parts are glued together. However while doing this there is excess glue being pushed out which is not allowed for their products.
The problem:
Right now the removal of the excess glue is being done by workers, doing it by feeling, which might cause damage to the product and can take up to 10 hours. Because it is really time consuming and possibly cause damage to the product, automating this process has a lot of benefits.
Our solution:
Using a laser scanner and a UR-10 robot to detect where the glue needs to be removed, to make a proof of principle that detecting the glue is possible with this equipment.
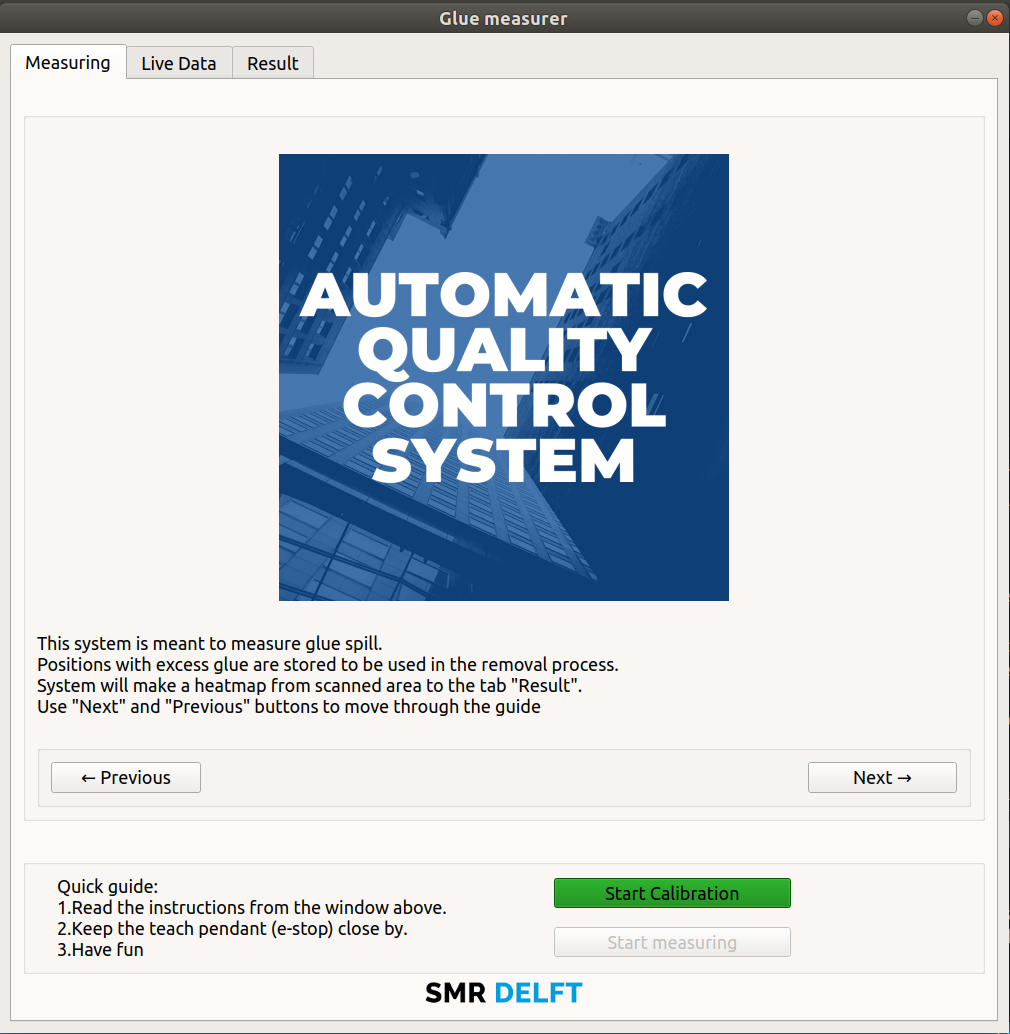
The working sequence:
The prototype works in this sequence:
- The user starts up the robot and the laser scanner and makes sure the robot is not in the emergency stop.
- The user looks at the GUI and has to put the robot in the shown position. Putting the robot too far out of the shown position will make it give an error, telling the user to put the robot in the shown position on the screen.
- Past this point the user needs to have the emergency stop present at all times. Making sure that the robot will not crash in the product or into it’s surroundings.
- After moving the robot in the correct position, the robot will calibrate itself using the laser scanner. After clicking “start calibrating”, the button will turn into a stop button that will make the robot stop after each move.
- When the calibration has been completed, the user has to select the “start measuring” button to start the measuring function of the robot. During the calibration, point will be saved and used to calculate a path along it.
- After following the predefined path around the product, the result will be shown in the “result” tab of the GUI.
- This result will show a live time feed of the measurement, and a heatmap of the glue.
- After doing the measurement the program has been completed. The program will be reset and the user can move it to another product to start calibrating and measuring again.
Major decisions:
After a couple weeks we had to update the robots software. Which resulted in a new setup of our program. Doing this helped us making it easier to control the robot using commands in python files. ROS (Robot Operating System) already has a lot of functionality provided for controlling the UR-10 robot, however making certain moves requires some coding yourself.
We used the robot to calibrate itself using data from the laser scanner, doing this will help making sure the robot will move correctly further in the program.
We used the laser scanner’s TCP (Tool Centre Point) to calculate all the moves for the robot. This made sure that the product doesn’t have to be in a predefined location. As long as the calibration succeeded the product can be measured.
We adjusted the speed of the robot while running the program. This resulted in a clearer view of the glue that needed to be removed but delayed the cycle time by a significant amount. So we decided to create a function that only slows the robot down when it is measuring the product.
Improvements moving forward
When the product gets too big, the robot will not be able to reach all the corners. So to make sure the robot can reach a bigger workspace, we advise to hang the robot upside down along another movable axis.
For the next step in the process we advise to mount that tool onto the robot at the same time as the scanner. This will result in better accuracy, because the same calibration is being used for both tools, and a quicker cycle time, because there is no tool change needed.
Conclusion:
Using a laser scanner combined with a UR-10 robot makes it possible to detect extra glue on products with a very high accuracy when the laser is aligned to the product correctly.