Smart Robotics & Manufacturing – Haagse Hogeschool – Semester 1
By Pedram Kiai, Sander Boelen, Wouter Drost & Kika Jonker
INTRODUCTION
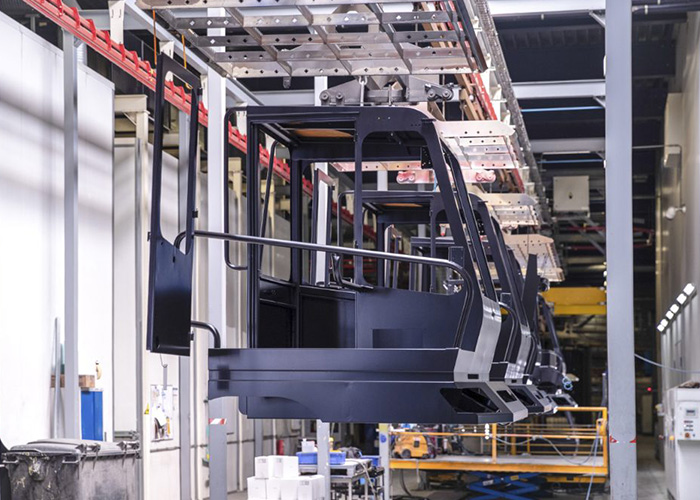
Metagro, part of Dubbeldam group, specializes in the design and production of cabins for several types of vehicles, like trucks, forklifts, etc. A part of the production is the application of sealant on seams, welds and corners, both for practical and for aesthetic reasons, this is done by hand, with a compressed-air driven sealing gun that holds standard seal cartridges. Completed at different locations or “stations”, where the bottom side of these cabins is sealed at one location and the outside seals are done at the next. Other parts of the production line have already been automated with the implementation of robots, such as the welding of several metal parts for the cabin structures.
THE PROBLEM
Sealing done by hand in the way that it’s done now is an-intensive and sensitive task that Dubbeldam wishes to automate because it is very difficult to find personnel, and so that perhaps the production can be upscaled in the future. The problem for the project was the application of functional, watertight seams on the desired areas of the underside of a cabin with the use of a robot.
THE SOLUTION
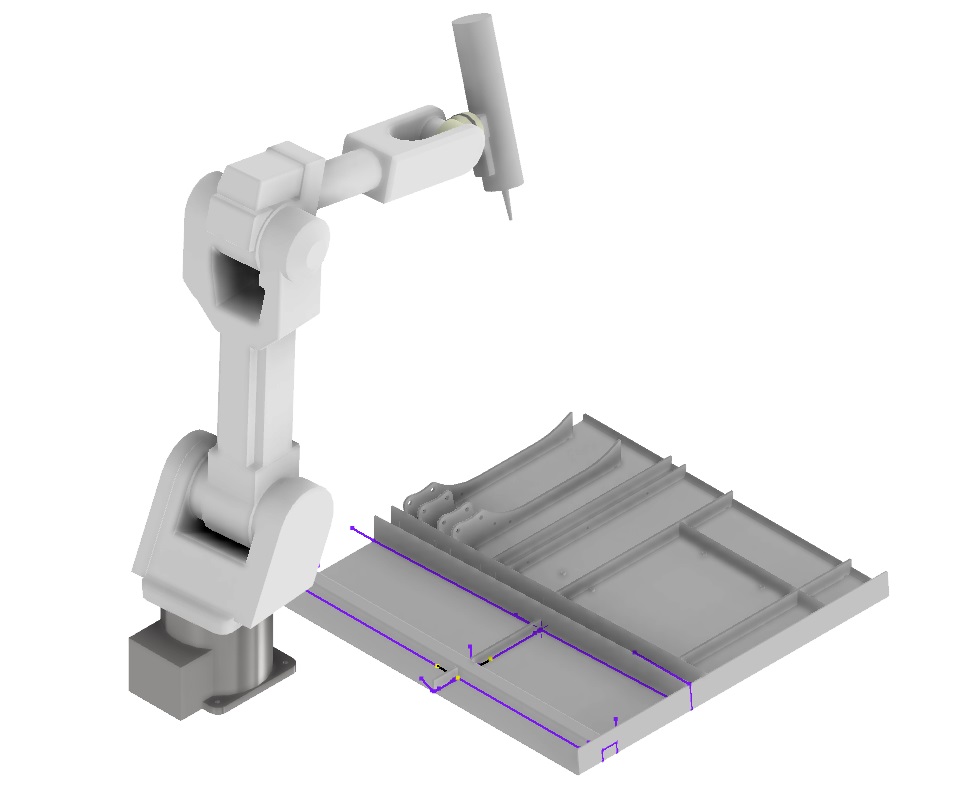
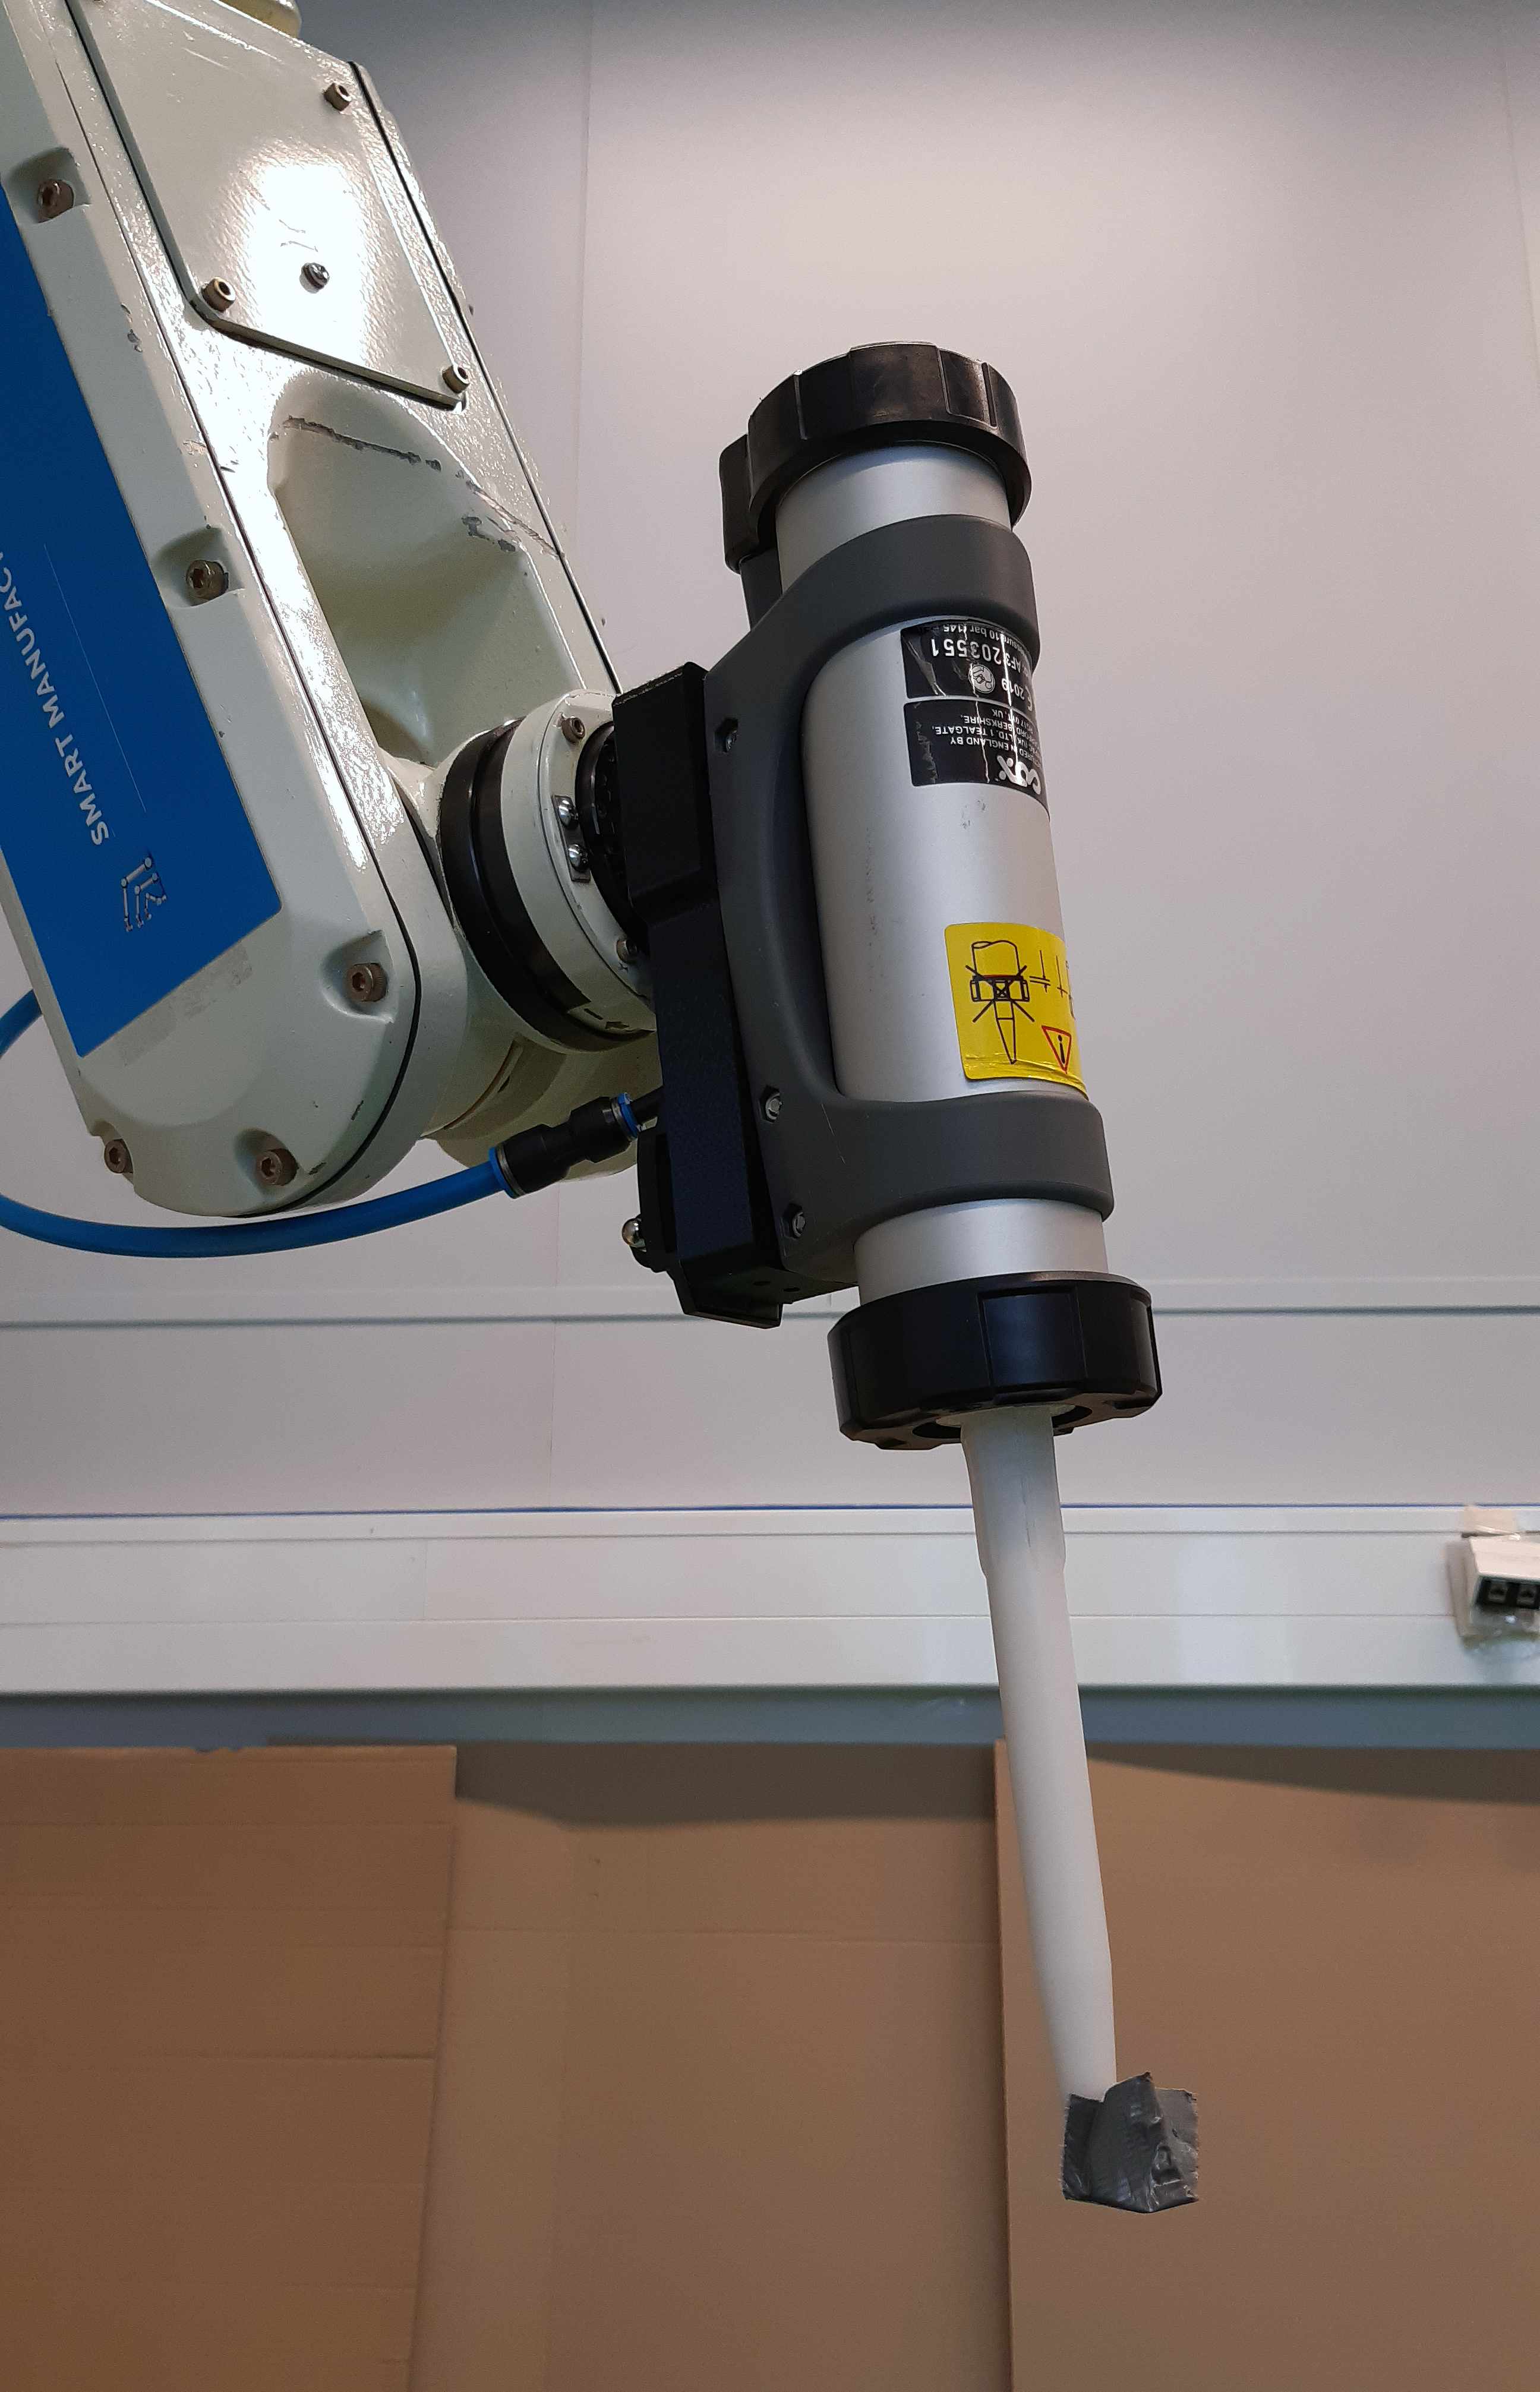
The solution was an adapted sealing gun mounted at the end of a Kawasaki robot, following the path of lines that need to be sealed, sealing where needed.
CAD to path
Since all structures produced at Metagro are designed three dimensionally in CAD software, the best way to define the paths for the robot to follow was from those design files, by making two sketches in AutoCad Inventor, one defining “lines” or paths for the tool to follow, and one the “angles” or guidelines for the position of the tool. From these sketches, reference points are exported as coordinates and type definition (line or angle) to a .csv file, which, through a .txt are called by a .exe to form an AS-language (native to Kawasaki robots) script with all locations and positions the robot has to follow.
KMove
The standard LMove (linear) was not sufficient for solving the problem at hand, and so the KMove (K standing for kit, which means seal in Dutch) was invented, including clever features to overcome the obstacles encountered.
The main feature is the reset of joints, which is needed when a position is not doable for the robot to reach in the same rotary direction due to joint rotation limits. Joint 4 is reset by comparing the O Euler coordinate of the current position with the upcoming one and when the next move brings the joint too close to the limit, the tool will retract and rotate 360 degrees in opposite direction to allow more mobility in further moves. Joint 6 is even more limited in its movement, making it impossible to make a 360 rotation similar to joint 4, but since little movement is generally required from this joint, it is reset by moving also joints 4 and 5 to achieve the same position in a different configuration; joint 4 rotating about 180 degrees in the same way as its own reset function, joint 5 mirroring its value (e.g. from 60 to -60 degrees) and joint 6 moving 180 as well to get its rotation as close as possible to 0.
The second important feature is the start and stop of seal application, controlled by a valve, integrated in the compressed air piping that runs through the robot itself. Since there is a delay between the signal to open or close the valve and the flow of sealant, waits were integrated in the move commands to ensure correct application and stopping before tool retraction to prevent mess.
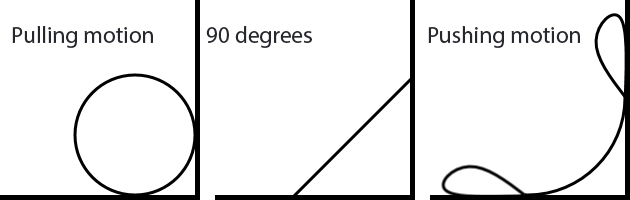
Also, the sealing angle was important for the result. There are 3 main ways to apply seal; in a pulling motion, with the tool pointing back resulting in insufficient bond with the surface, a pushing motion with the tool pointing in motion direction giving messy seams, and a straight 90 degree angle with the seal line and neither pushing nor pulling that provides neat seams with good bonding. To achieve the best seal possible, also in corners, a rotation distance for transition from one angle to another was added to the routes.
End-of-arm tool
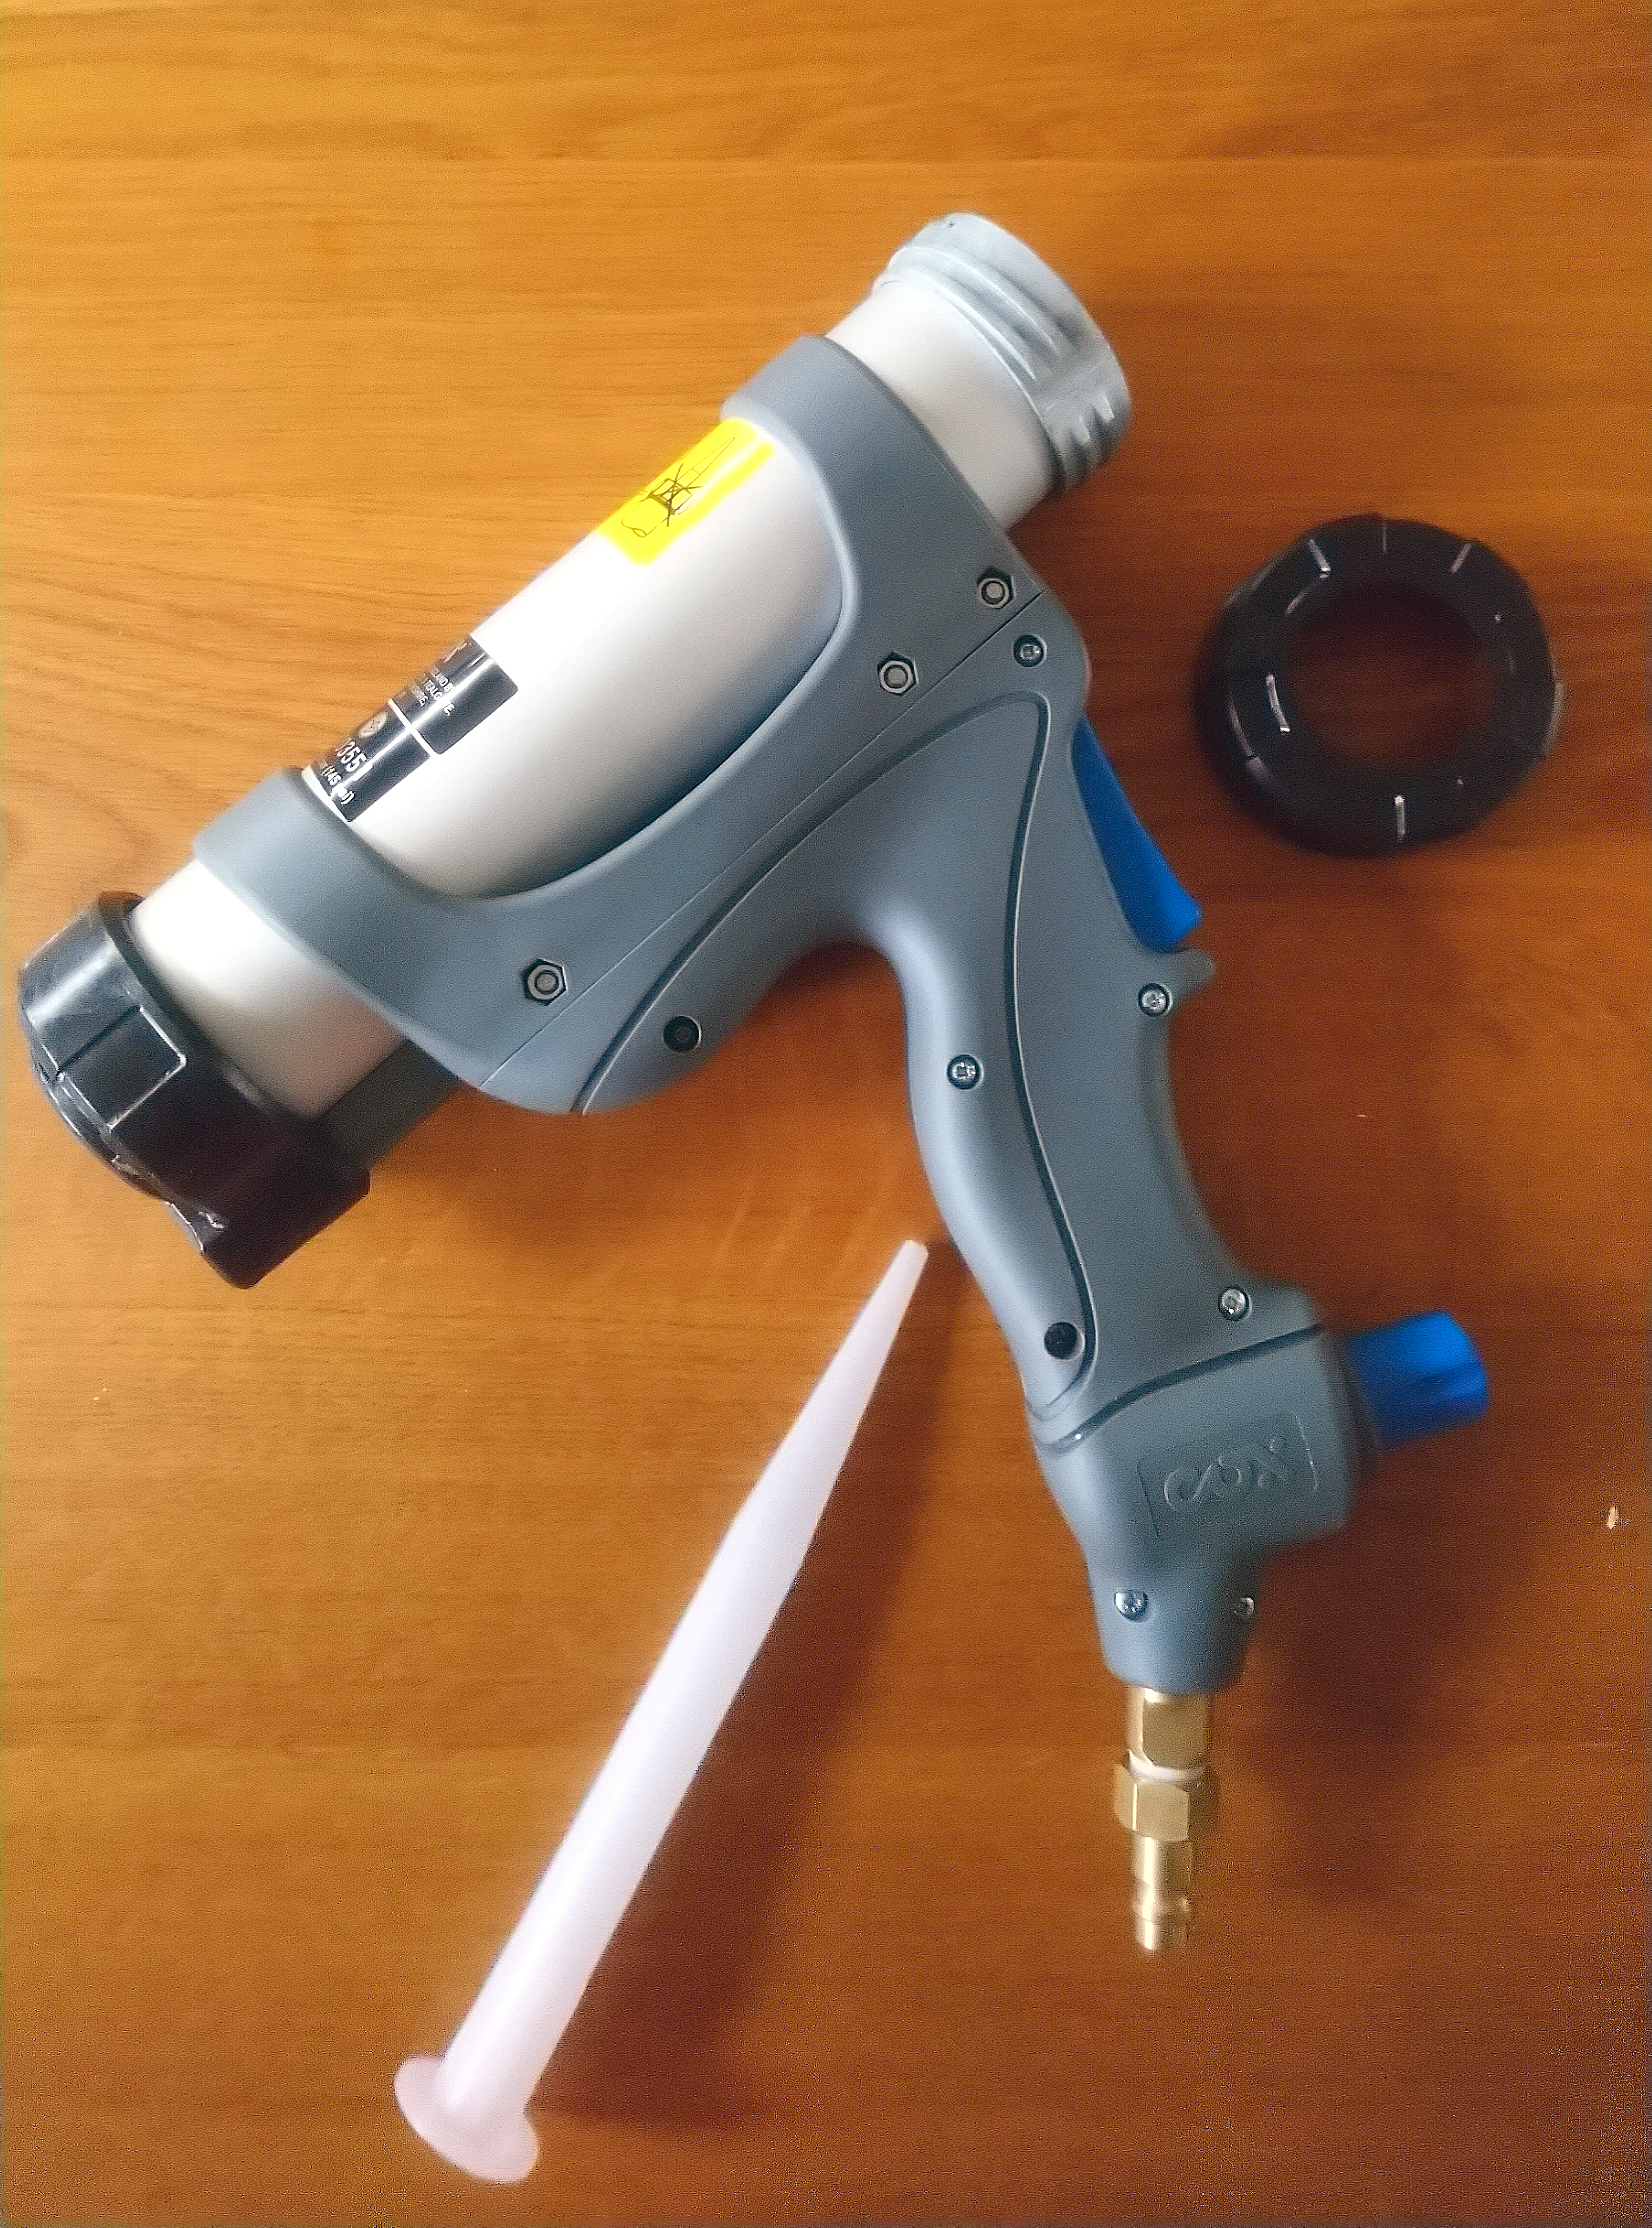
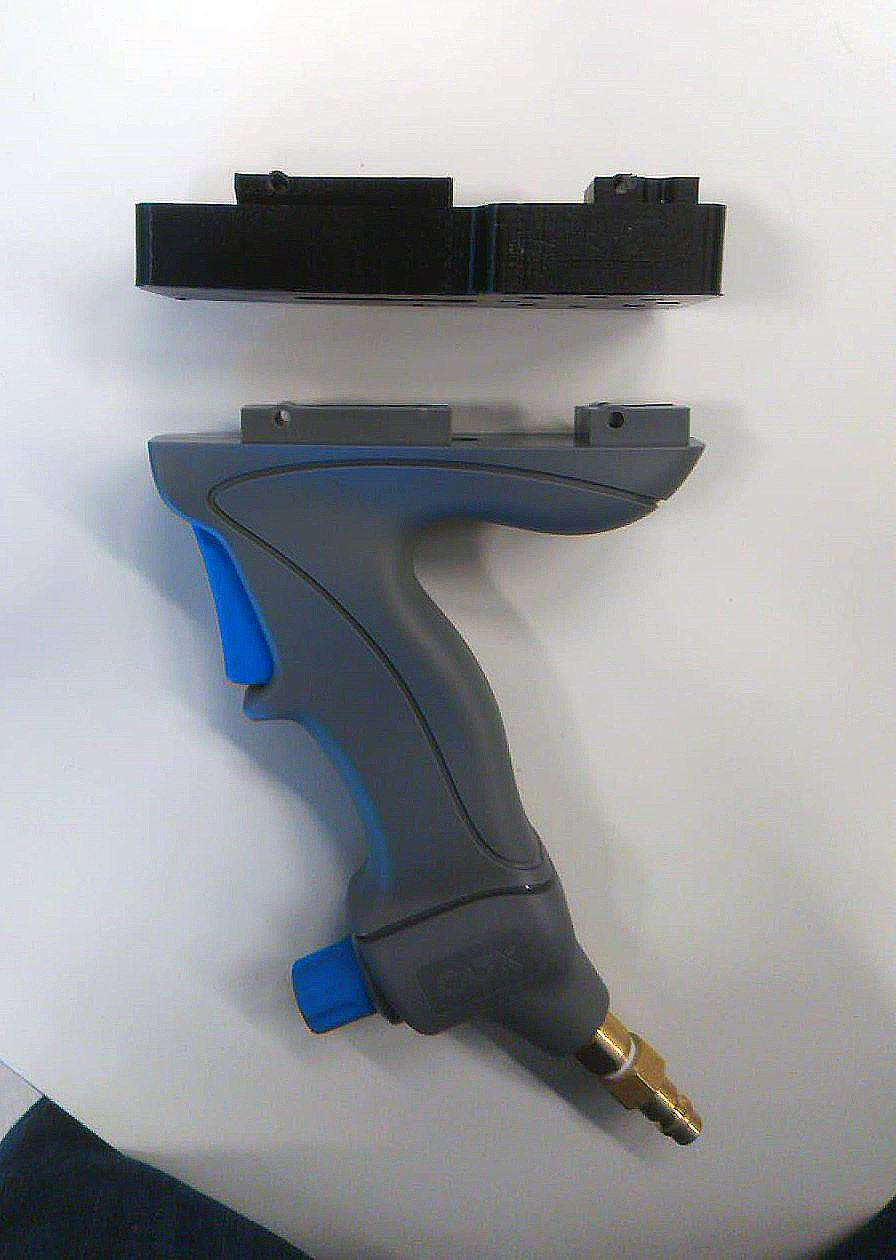
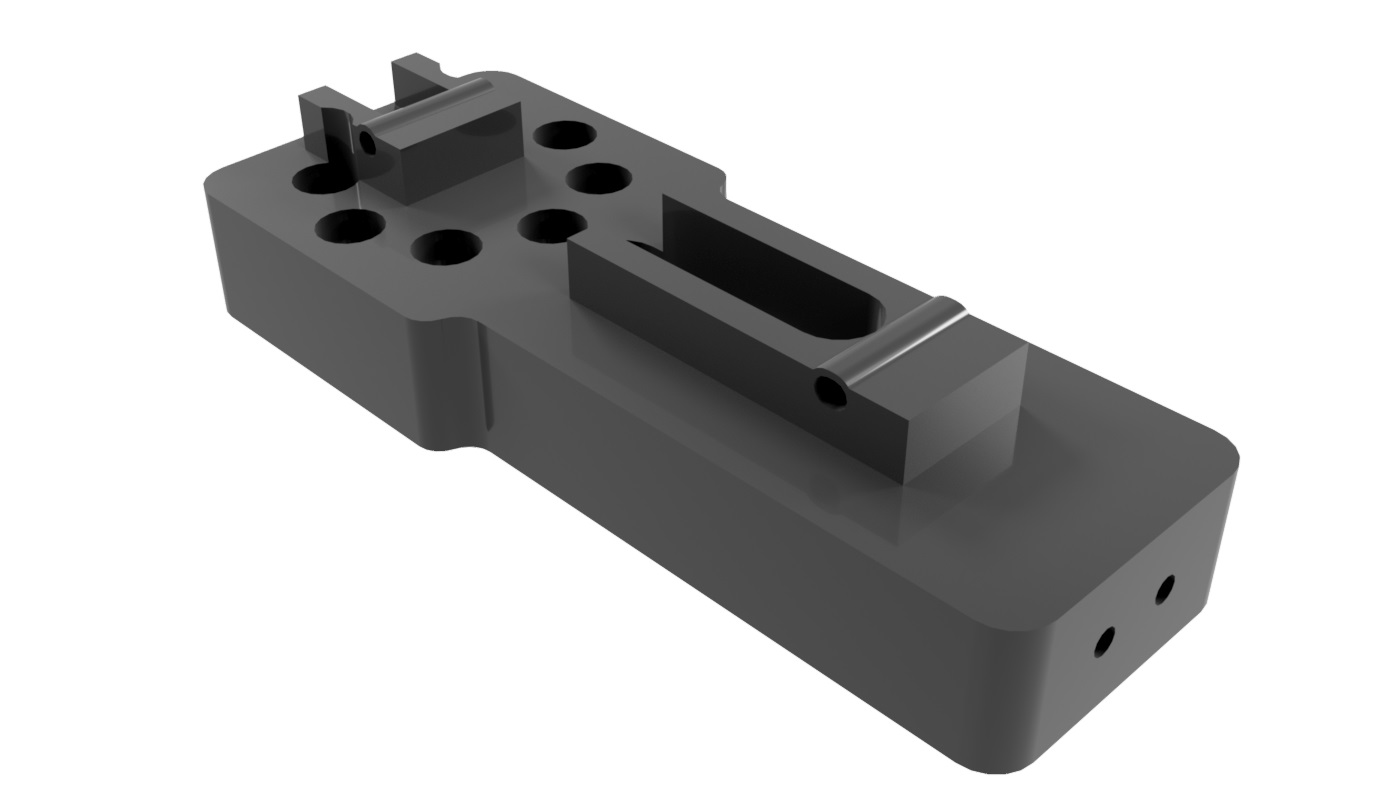
The end of arm tool needed to be a connection piece to attach the sealing gun to the flange of the robotic arm while allowing access for compressed air and the control of the air flow. The gun as provided by Dubbeldam originally consisted of two parts, the handle with air pressure control and trigger, and the upper part that holds the seal cartridge and includes the pressure points for extrusion connected to the compressed air inlet. The gun was relatively simple to disassemble and separate, so the upper part could be mounted on a 3D printed connection piece and connected to the air piping that goes through the robot.
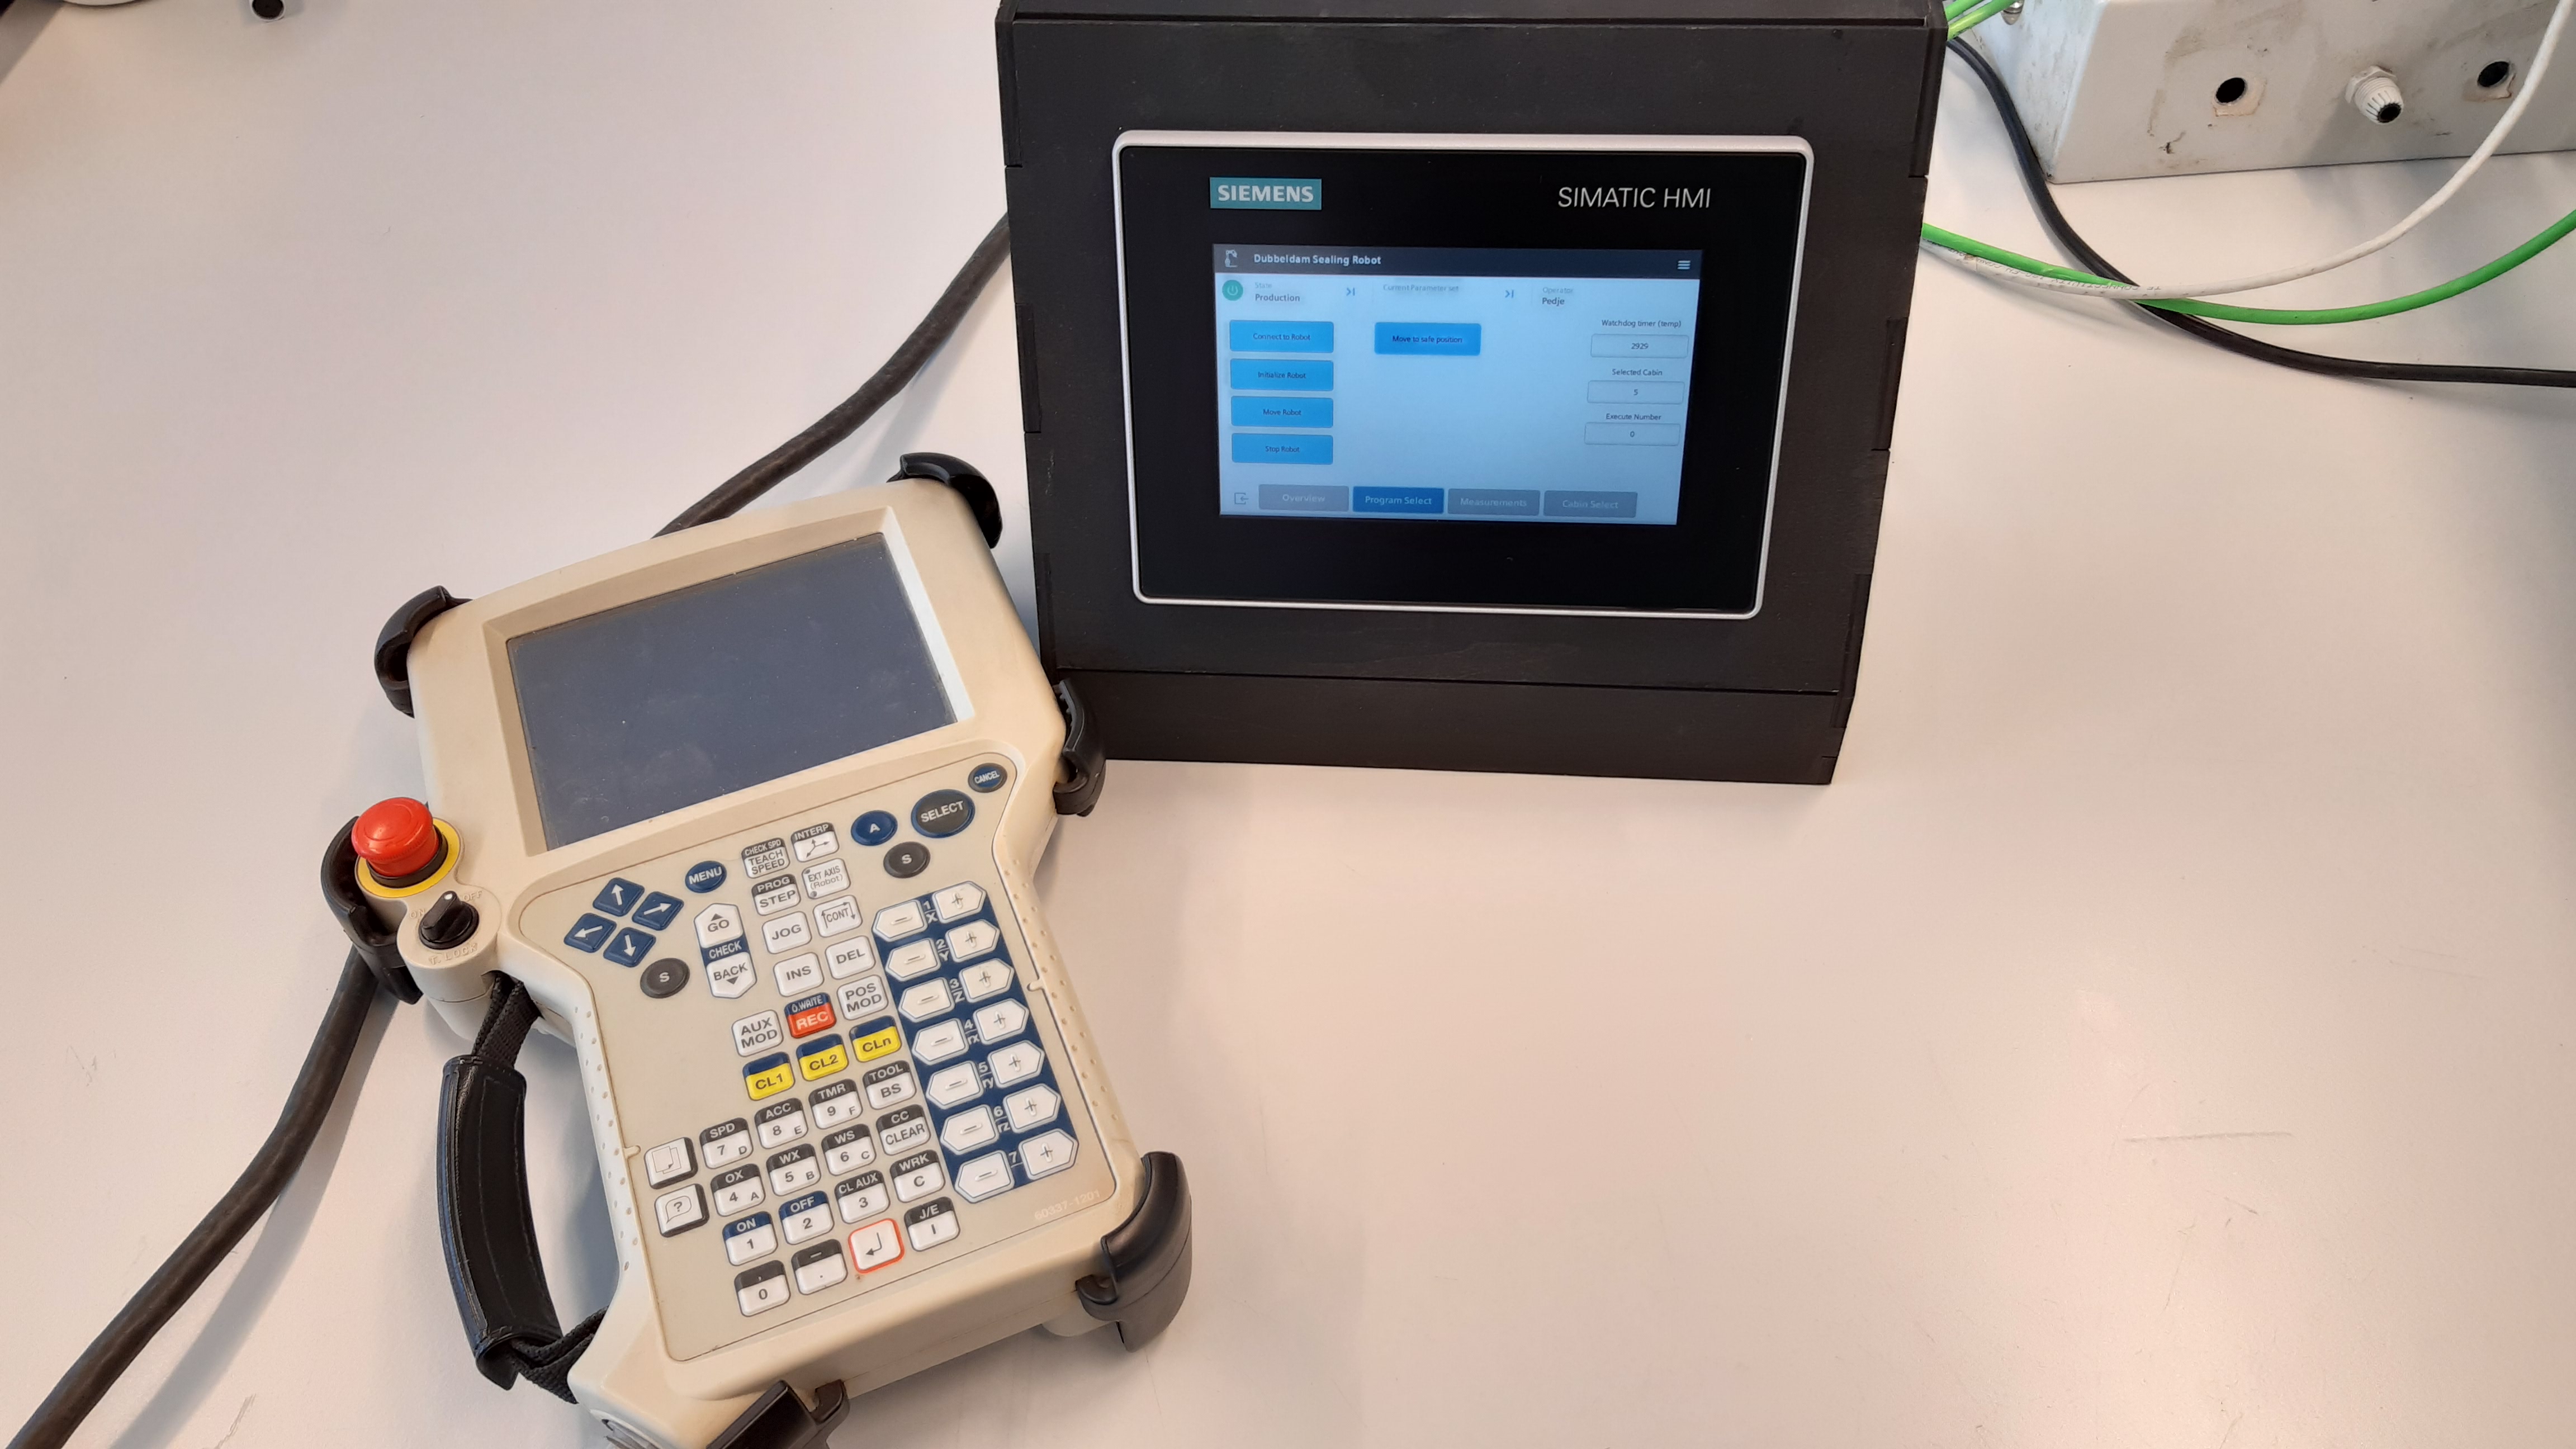
PLC
To bring it all together and explore user interfacing, a Programmable Logic Controller (PLC) with a Human-Machine Interface (HMI) was added to the solution, it connects the robot to a computer that runs the software and making it possible to select and start a sealing program by showing an image of the construction with highlighted lines marking what seams are to be sealed when running that program. It also enables the control of certain robot features from the screen instead of pressing buttons on the robot machinery itself, like motor power and error reset.